Apollo Payroll - Quickstart
This page will provide a rapid run through of setting up a full monthly payroll and running a single PAYE period payroll run. Further, full details for each stage are available from the links within each section.
Login
Open a web browser and head to https://portal.apollo-payroll.uk
If this is the first time of logging in (or it has been some time since last login) you will be presented with the login page:
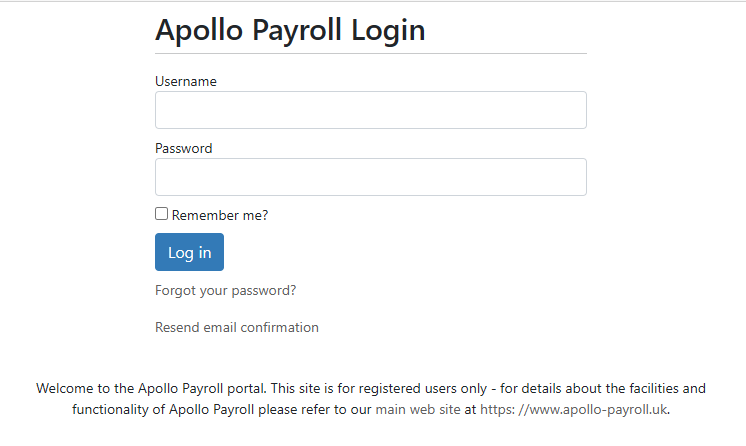
Enter your user name and password and press the Log in button. This will take you to
the main Employers list page.
Note
If you are providing payrolls for several employers then any previously setup employers will be listed here or, for a single employer, Commander Software may have already setup your employer for you.
Create employer
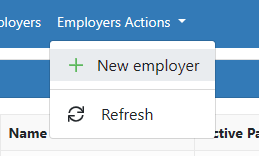
From the employers list page click on the Employers Actions item at the top of the page. Then
select New Employer
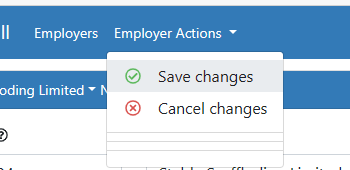
You will be presented with a screen with empty fields for the employer details. The employer code
and employer name are the important fields for now. Enter them and then click on the Employer Actions
item at the top and this time select Save changes
You should then see a green popup indicating that the changes have been saved:
The screen will now show the details of the new employer
Create payroll scheme
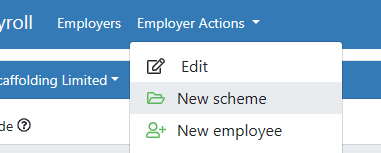
Click, again, on the Employer Actions link and this time choose New scheme
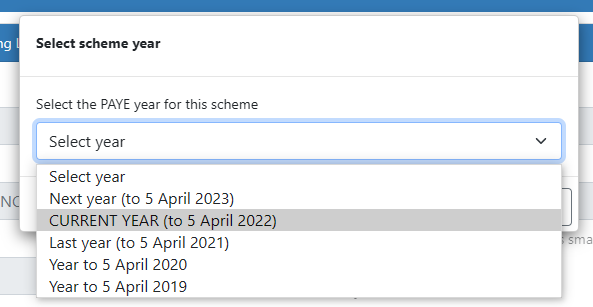
Select Current year from the year selection popup that appears
Fill in the PAYE district, Accounts office reference and PAYE reference fields as appropriate
and check/uncheck the boxes for small employer status, employers allowance etc if required.
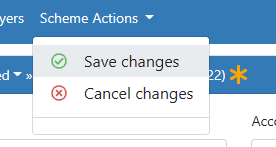
Save the new scheme by selecting Save changes from the Scheme Actions link at the top of
the page
Create payroll
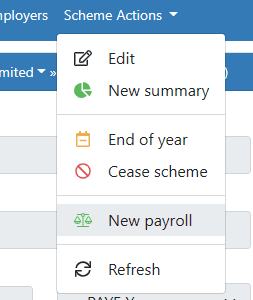
Click on the Scheme Actions link and choose New payroll
In the New Payroll popup change the payroll frequency and payroll name if required. For this
demo we'll leave them at their default settings. Press the OK button.
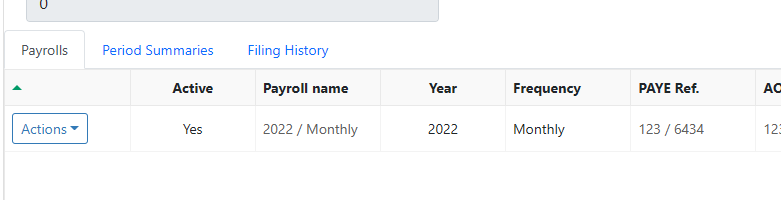
The new payroll will appear in the grid below the scheme details
Create employees
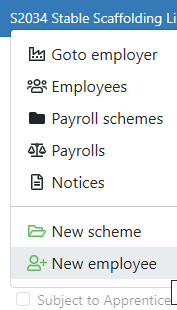
Click on the employer name dropdown at the top left of the scheme details and select Employees
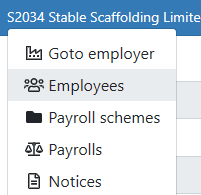
Note
Alternatively we could add a single employee directly from the same dropdown list by selecting the New employee option instead
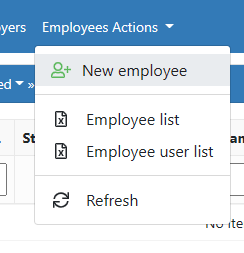
From the Employers Actions link at the top select New employee
Fill in the employee information on the Personal Details tab. NI Category is required and at least one of Date of birth or NI number is also required - but preferably both, of course.
Fill in the employment details on the Employment tab. Specifically the Payroll reference is required - this is the employee identifier within the employers payroll. Set the Start date and Starter declaration too if required along with any other details such as SLD etc
Once again select Save changes from the Employee Actions dropdown link at the top
We now need to attach this employee to one of the employer's payrolls. There is only one payroll in this instance but an employer could have several in one or more payroll schemes. This has the effect of creating a Payroll record for the employee in the selected payroll.
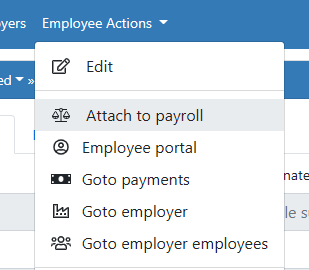
From the Employee Actions dropdown link select Attach to payroll
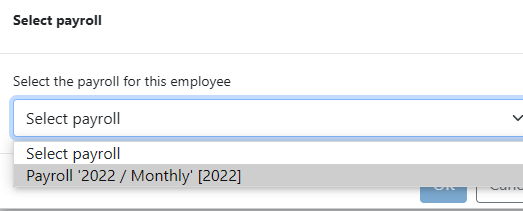
Choose the appropriate payroll from the popup
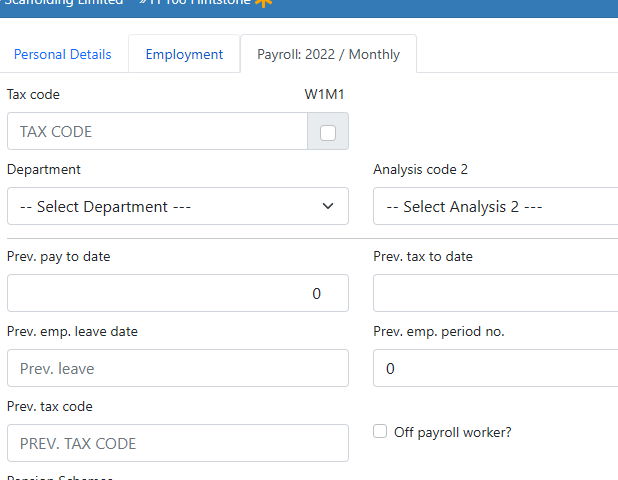
Now we have a payroll record we must set the correct tax code for the employee for the payroll year
Click on the payroll tab and fill in the Tax code field along with any other information that is appropriate such as, perhaps, previous pay and tax on leaving
Once more select Save changes from the Employee Actions dropdown link at the top
Create pending payments
Run the payroll
- Run a payroll preview
- Run payroll live
- File FPS
- Download payslips and reports